Making your own Greek yogurt at home is not only a rewarding culinary experience but also a healthy choice. With a few simple steps, you can create a creamy and tangy yogurt that surpasses store-bought varieties in taste and nutritional value. Follow this comprehensive guide to embark on your homemade Greek yogurt journey.
1. Gather Your Ingredients
To start your homemade Greek yogurt adventure, you’ll need just two main ingredients: milk and yogurt starter. Opt for high-quality milk, preferably whole milk, as it produces a richer and creamier yogurt. Choose a yogurt starter that contains live cultures and is labeled as suitable for making yogurt.
2. Heat and Cool the Milk
Pour the milk into a large saucepan and heat it over medium-low heat, stirring occasionally to prevent scorching. Heat the milk until it reaches a temperature between 180°F (82°C) and 185°F (85°C). Once heated, remove the saucepan from the heat and allow the milk to cool to around 110°F (43°C).
3. Add the Yogurt Starter
Once the milk has cooled, add the yogurt starter. Measure the recommended amount of starter based on the package instructions and whisk it into the milk until fully incorporated. The starter contains the live cultures that will ferment the milk and transform it into yogurt.
4. Incubate the Yogurt
Transfer the milk and starter mixture to a clean container or individual jars. Cover the container(s) with a lid or plastic wrap and place it in a warm spot, such as an oven with the pilot light on or a yogurt maker. Allow the mixture to incubate undisturbed for 6 to 8 hours, or until it thickens and reaches the desired tanginess.
5. Strain and Chill
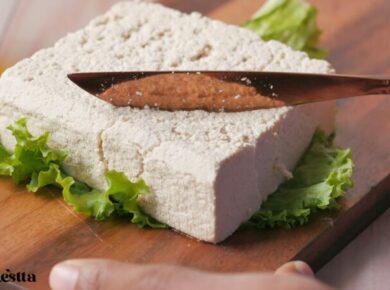
To achieve the thick and creamy texture of Greek yogurt, you’ll need to strain the yogurt. Line a fine-mesh sieve or colander with cheesecloth or a coffee filter and set it over a bowl. Pour the yogurt into the lined sieve and let it strain in the refrigerator for 2 to 4 hours, or until it reaches your desired thickness. Save the liquid (whey) for other culinary uses if desired.
6. Enjoy and Customize
Once strained, your homemade Greek yogurt is ready to be savored. Enjoy it as is or personalize it by adding your favorite toppings, such as fresh fruits, granola, or honey. Use it in recipes that call for Greek yogurt or as a healthy substitute in dressings, dips, and smoothies.
Conclusion
Making homemade Greek yogurt is a delightful and rewarding process that allows you to enjoy a fresh, creamy, and nutritious treat right from your kitchen. By following these simple steps, you can become a master of homemade yogurt and customize it to your taste preferences. Embrace the art of crafting Greek yogurt and indulge in its wholesome goodness.